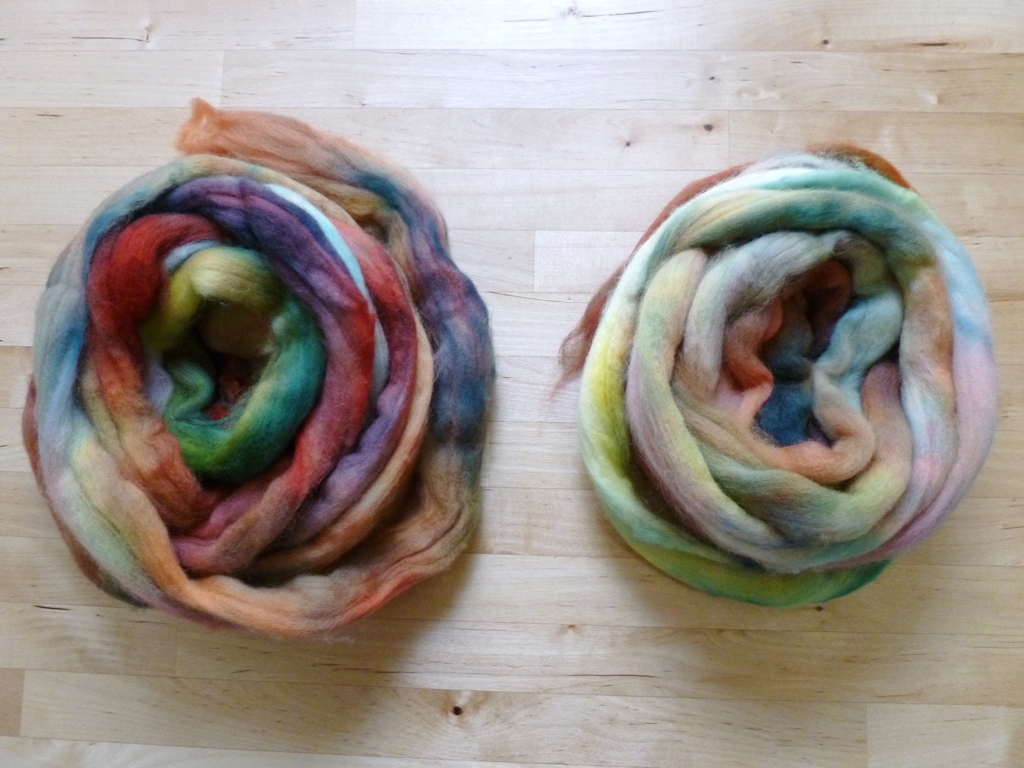
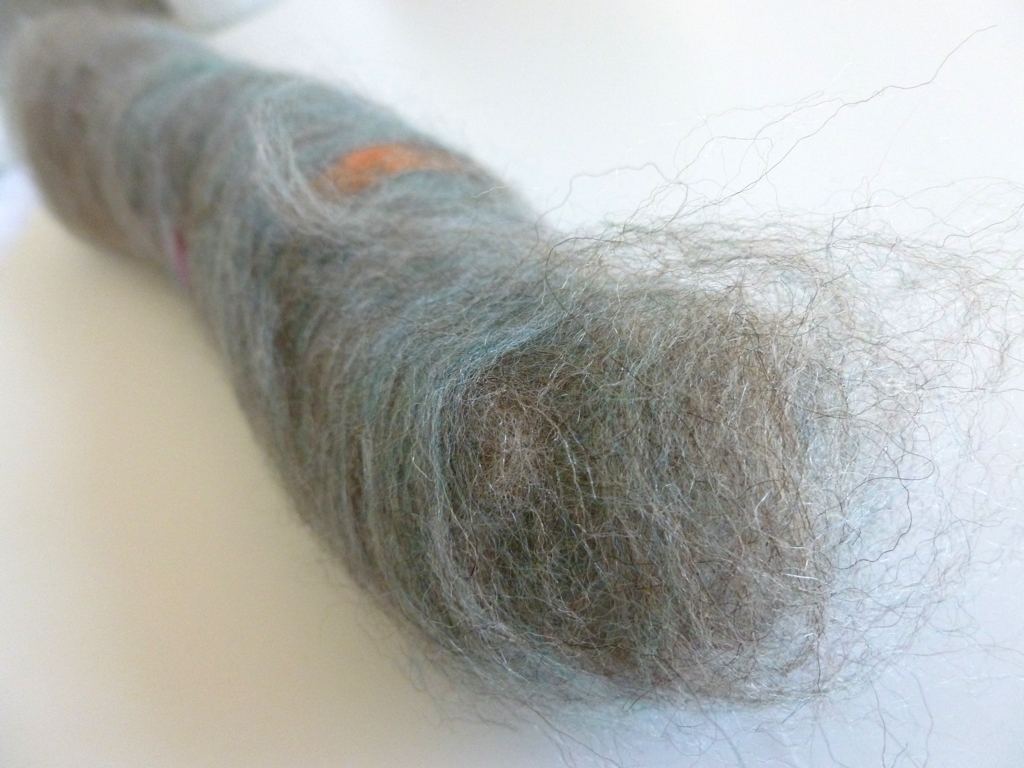
Time For Some Wooly Spring Cleaning

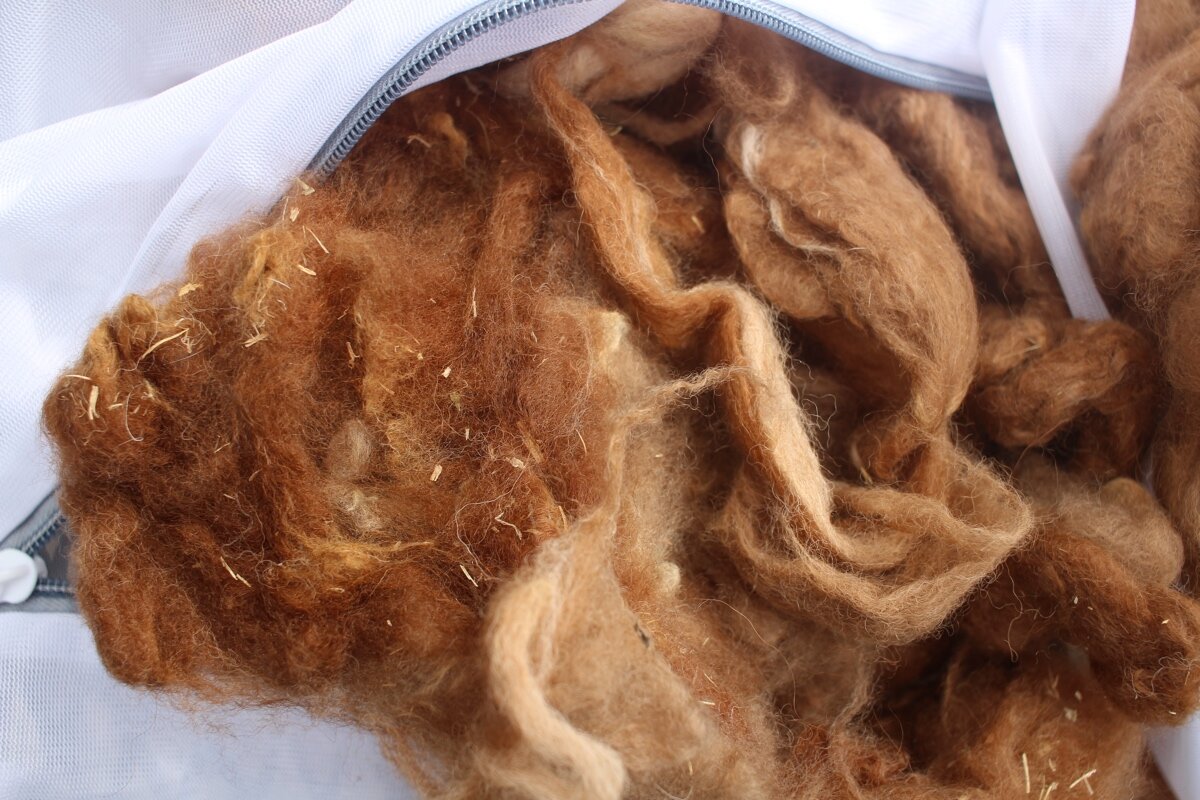
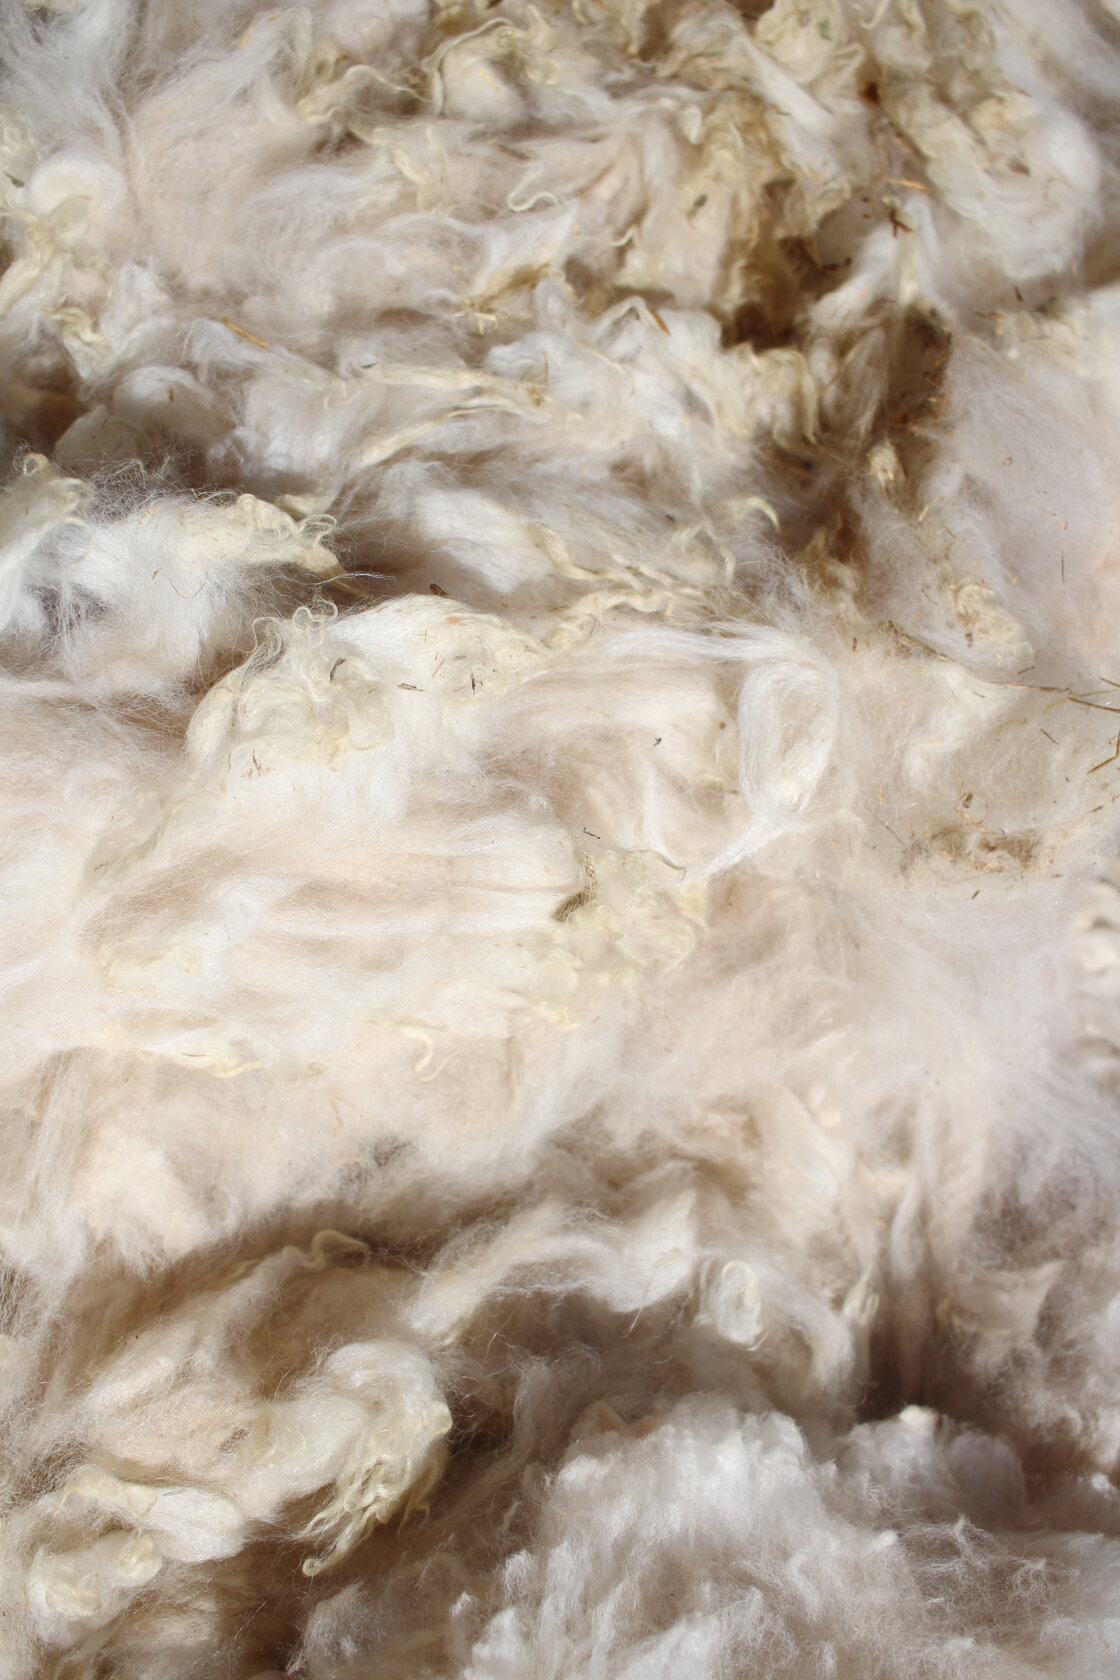
Close up details of the unwashed wool blanket with plenty of lanolin and veggie matter to go around.

Close up details of the unwashed wool blanket with plenty of lanolin and veggie matter to go around.

Warmer Spring weather has kicked up in fits and spurts over the past few weeks. So, it’s time for that giant box of fiber that’s been sitting on a shelf in the garage to finally get some time in the sun and the tub.

My dad sent me a 16” x 16” x 17” box last year. I poked at it a little bit, but wasn’t quite ready to jump into washing it just then. I wanted to do a little practice first and had a much smaller chunk of alpaca that would be a good start to learn how to wash raw fiber. I chronicled that learning attempt here, and it went really well. With a little experience and confidence under my belt, I was ready to get started…eventually.

One of the two bags from the box and absolutely stuffed full of a skirted wool fleece.

One of the two bags from the box and absolutely stuffed full of a skirted wool fleece.

I opened this box and dug in before I could change my mind or the weather changed my plans for me. The box was packed with two bags that each contained a full skirted fleece! I only had the time and bags to work with one of the bags, so I left the second fleece in the box for later. Maybe this summer? Hopefully this summer.

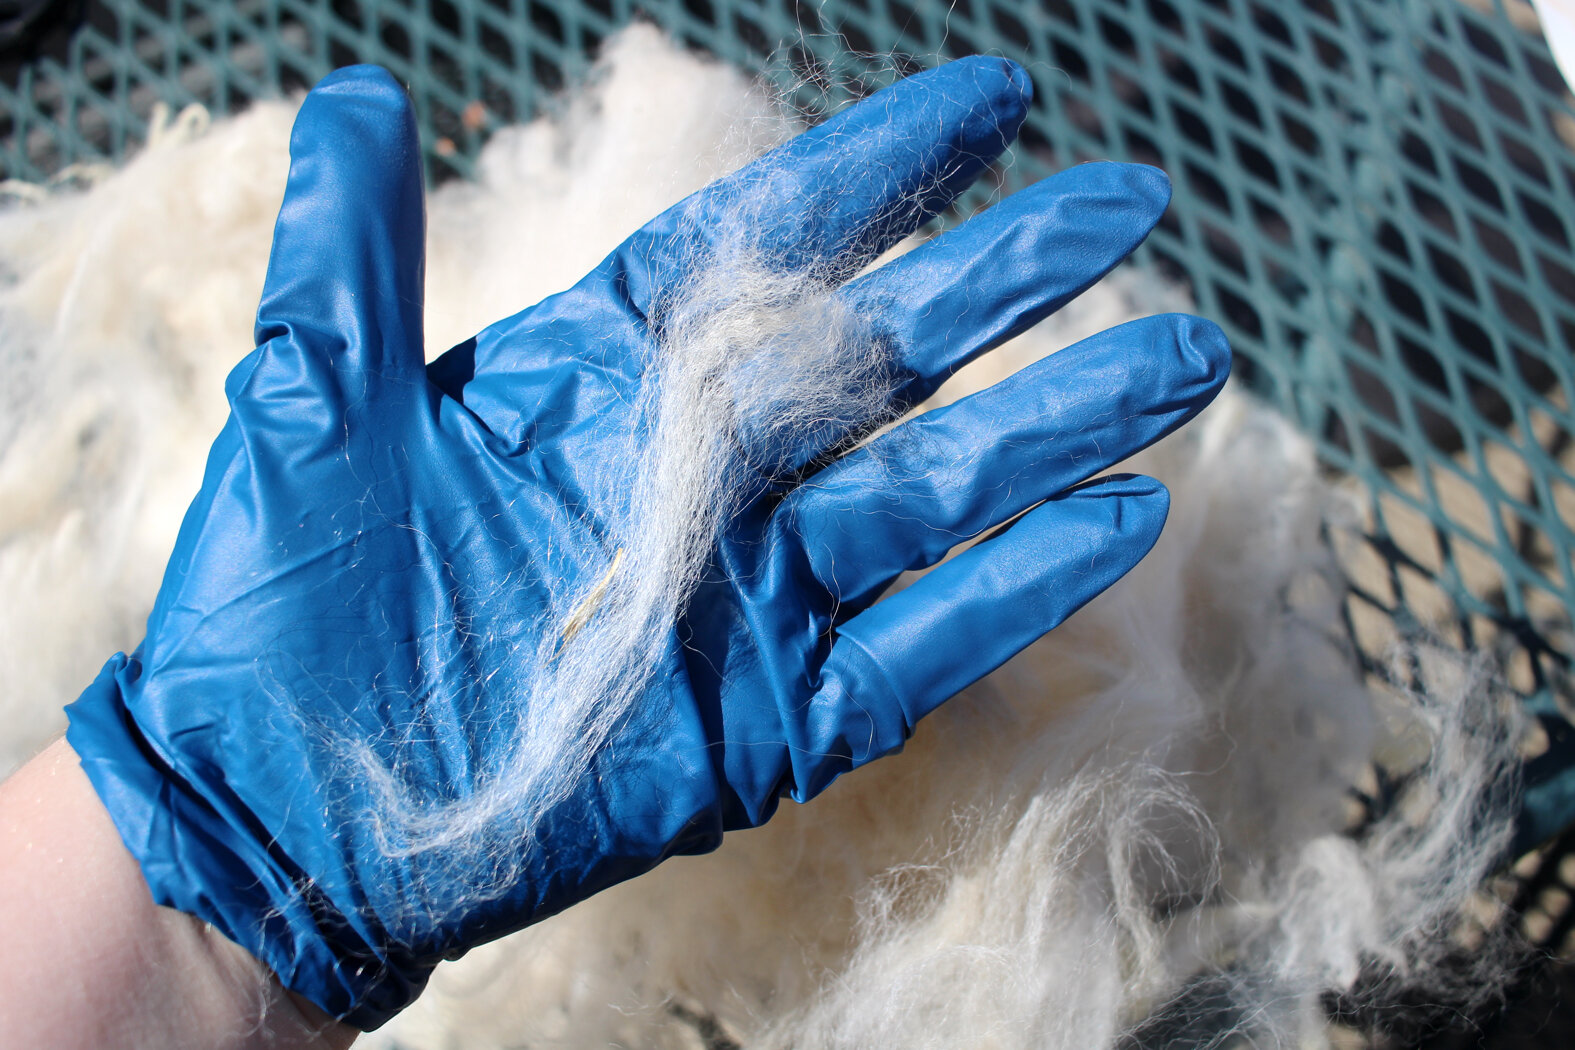
A small sample of the wool from this fleece.

A small sample of the wool from this fleece.

A close up of one of the wool locks.

A close up of one of the wool locks.

Anyway, I don’t have any details about what kind of wool this, just that it’s wool. The fleece wasn’t dirty and dusty like alpaca, but a little bit greasy and yellow from the lanolin. There was a fair amount of veggie matter and some second cuts - both of which I pulled out much of what I could. While the locks don’t have much in the way of a tight crimp, it is strong with a 4-5” staple length. After pulling out the dirtiest sections (spoiler alert: I should have pulled out more), I divided the fleece into 7 bags for easier washing.

7 mesh bags full of wool fleece ready for a wash in a utility sink.

7 mesh bags full of wool fleece ready for a wash in a utility sink.

My original plan was to wash the fleece in a big tub in the back yard, but that was before I had a utility sink. Washing a big chunk of wool seemed like the perfect thing to really break that sink in. I grabbed the 4 of the 7 bags to get started because I only have so much drying room. Then I filled up the tub with the hottest water I could get, 120 F, and added my soap. I’m using Mrs Meyers Clean Day Dish Soap (<- affiliate link) which is sulfate free (and what I used to wash the alpaca fiber). This batch got two soaks in soapy water (so much dirt!) and two soaks without soap. Then I laid them flat to dry. It was so hard not to poke the bags every hour to see if they were dry yet.

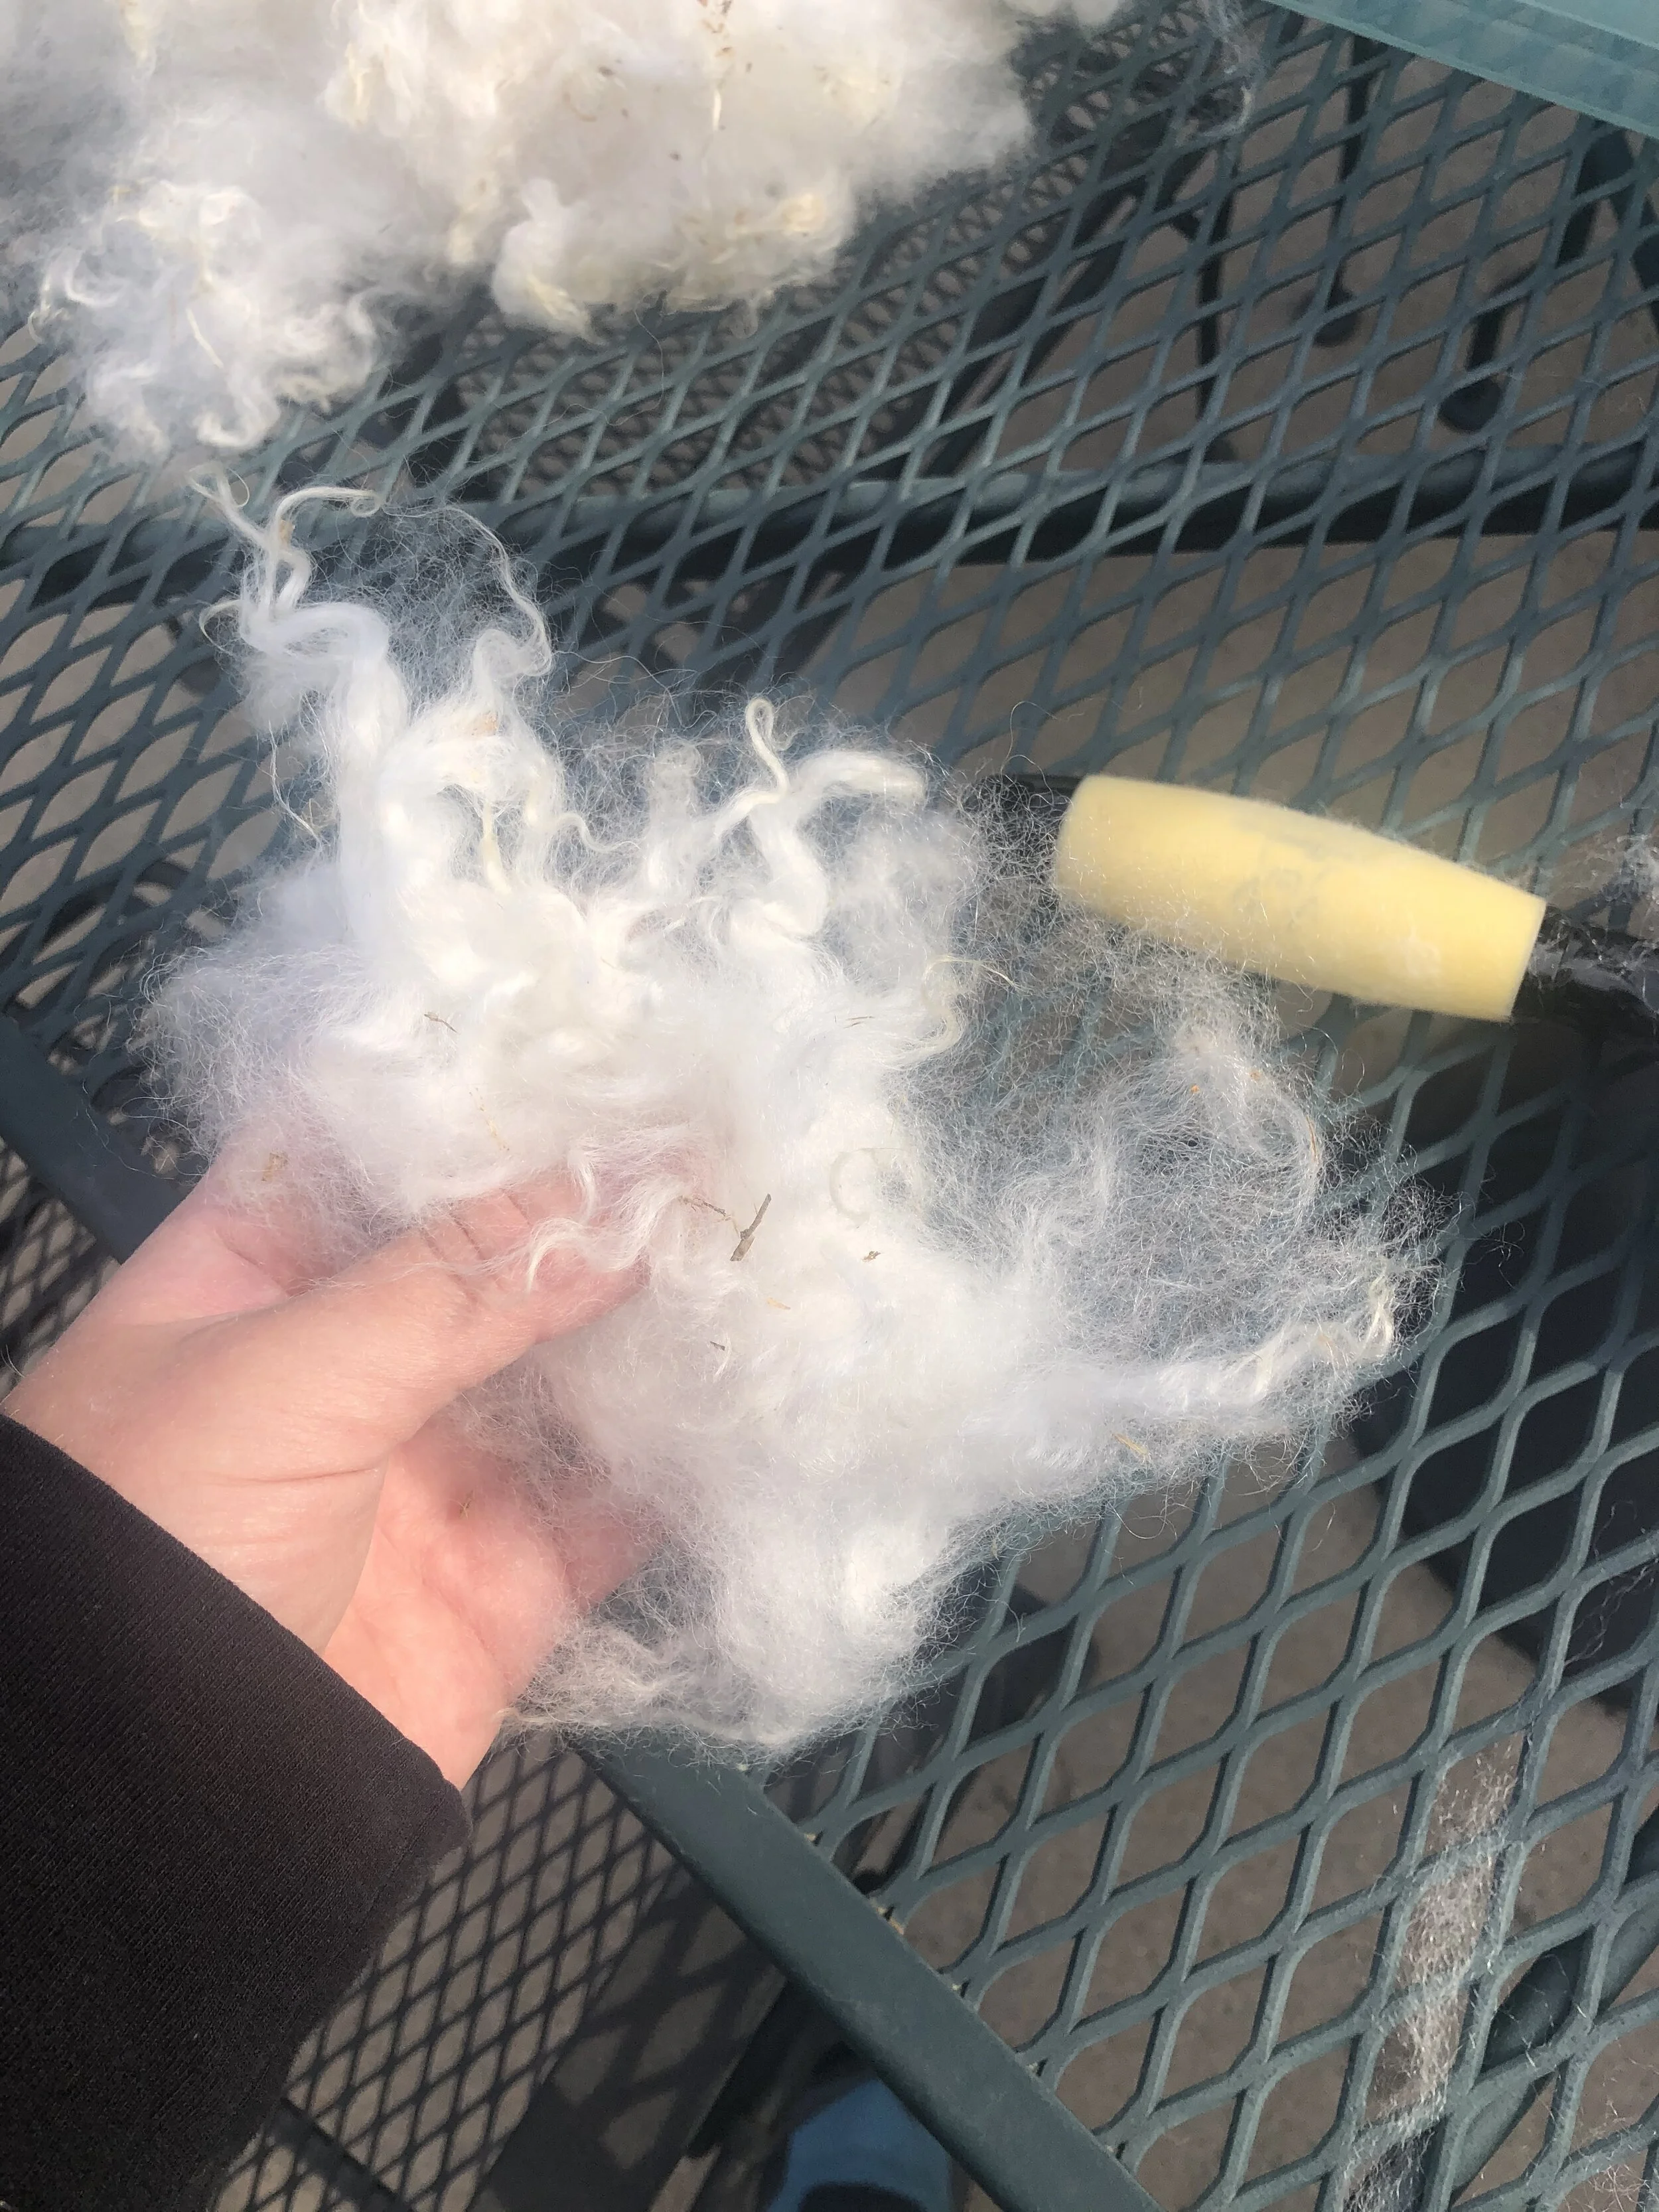
A handful of washed fleece showing off the lock structure and a little bit of veggie matter.

A handful of washed fleece showing off the lock structure and a little bit of veggie matter.

When all the wool was finally dry, I was afraid that I’d felted it in the wash! I didn’t - whew! - but the wool was compacted. It takes a little effort, but I can still pull it apart and tease out the individual fibers. Now that the wool was clean I could finally get a good look at it. Most of the fiber is a bright white and only a few of the tips stayed yellow. It is also very soft and fine. I’d say that I lucked out with this fleece. Thank you, Dad!

Of course, I couldn’t resist seeing what would happen after the wool took a trip through the drum carder. This was a learning experience on all fronts. The wool (because it was compacted from the wash), took a chunk of work to get ready to feed into the drums. Then all the veggie matter I hoped would come out with drum carding, didn’t. So I spent way more time picking out grass and hay that I’d skipped over in the beginning. Bah. I also learned that this particular wool is very fine and two passes through the carder is the most it can take. Anything more will tangle the fiber into neps which would be a complete waste of some really beautiful wool.

I was also reminded of a few absolutely key points:

  • Don’t wear all black when working with white fiber.

  • An apron to wipe your hands and hold tools would be really helpful.

  • Save outside drum carding for less windy days.

  • Keep your hands moisturized so the fiber doesn’t just cling to your fingers for the fun of it.

  • Find all the tools you’re going to need before you start working with the carder.

  • Toddlers don’t care about drum carding. Toddlers care about being pushed on the swings. (This one is the most important.)

The first finished batt from the washed wool fleece ready to come off the drum carder.

The first finished batt from the washed wool fleece ready to come off the drum carder.

The fluffy and flighty wool batt after pulling it up to come off the drum carder.

The fluffy and flighty wool batt after pulling it up to come off the drum carder.

Close up view of the underside of the batt as it comes of the drum carder.

Close up view of the underside of the batt as it comes of the drum carder.

The finished batt is just shy of 2 ounces and only a small fraction of what I washed. The drum carder wasn’t cleaned after my last carding projects so there’s bits of green wool and cinnamon alpaca in there. Still, it looks really good even if it does have more veggie matter in there than I’d like. I’m looking forward to spinning up a few samples of 2 and 3 ply yarns. It’ll certainly help me decide what to make with the finished yarn when I have a better idea of how much fiber I actually have.

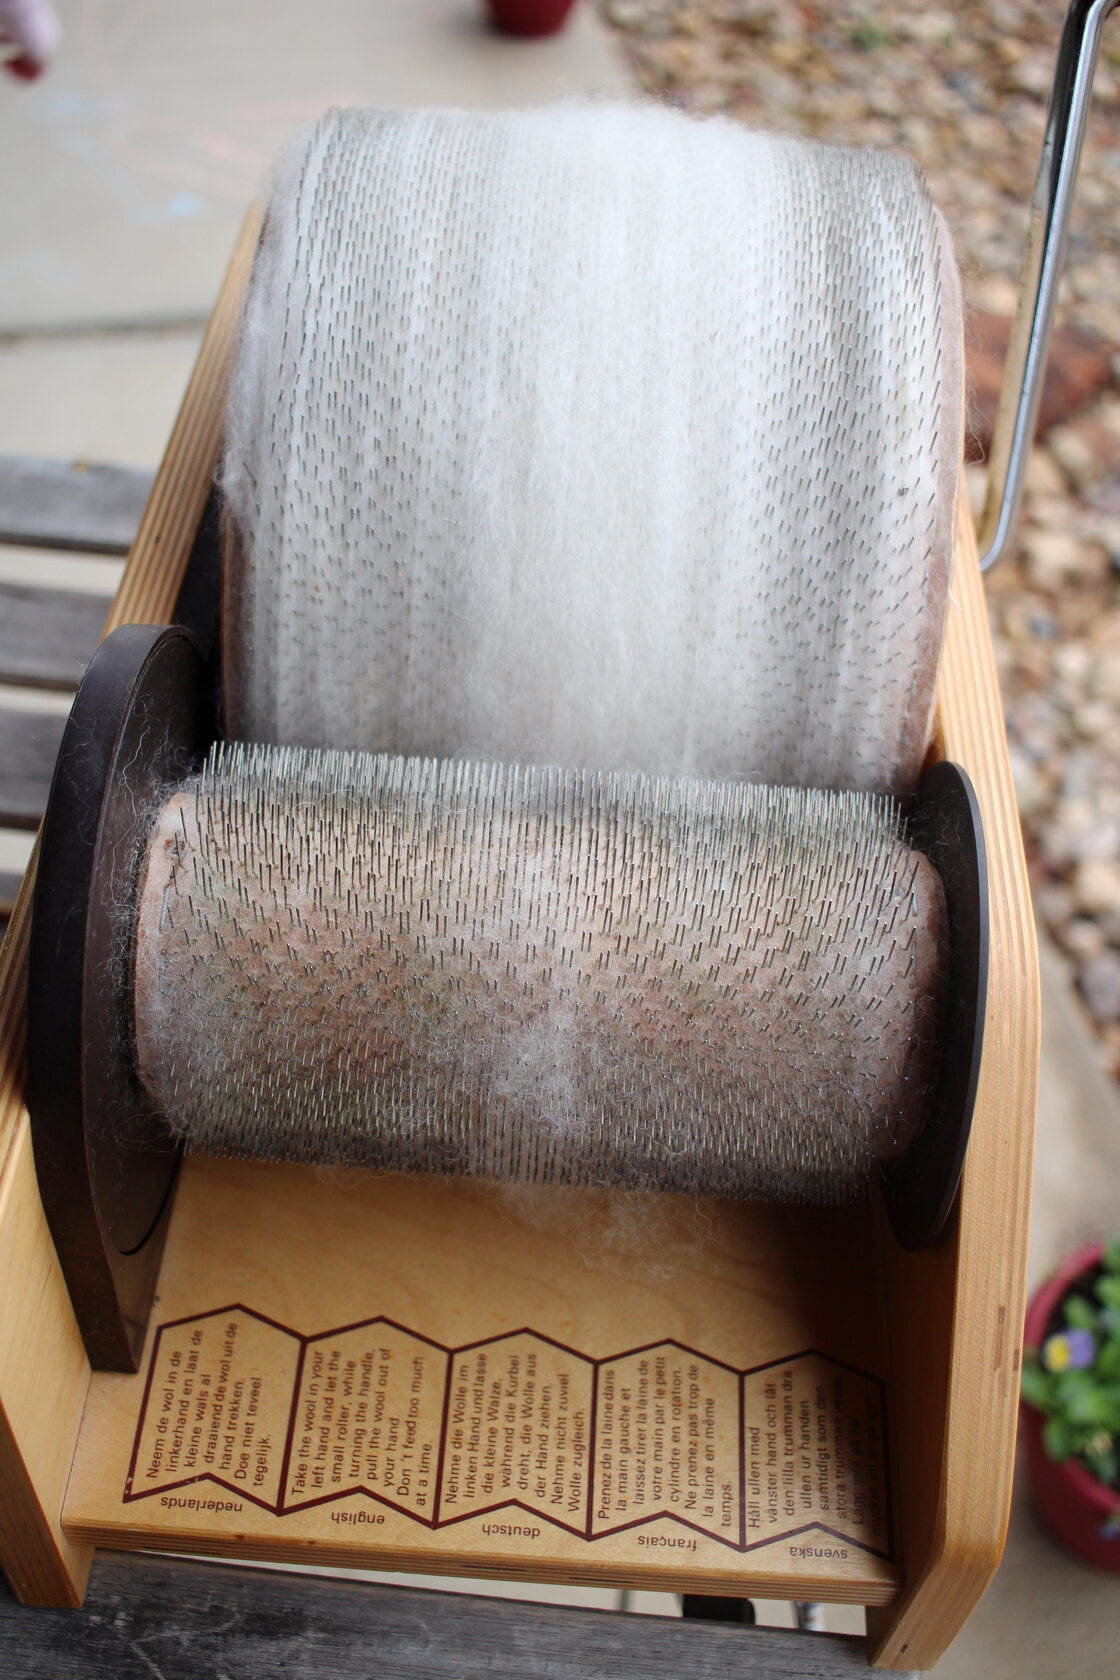
The drum carder after removing the batt. The drums are still covered wool stuck down at the base of the cloth.

The drum carder after removing the batt. The drums are still covered wool stuck down at the base of the cloth.

Now I have to go pick all the stray fibers out of my drum carder before I can card the next batch.


This post contains an affiliate link which means, if you decide to buy through that link, I’ll get a small commission. My opinions are my own, and formed after multiple uses. I wouldn’t recommend this soap if I didn't think it worked. Thanks!

Adventures in Washing Alpaca Fiber

Graphic that says “Adventures in Washing Alpaca Fiber without a Washing Machine” over a bag of alpaca sitting in a red tub full of soapy water.

Thanks to the kindness and generosity of family and friends, I have accumulated a fair bit of alpaca fleece in a few different colors. The most recent addition was a 16” x 16” x 17” box from my Dad packed full of beautiful grey and black locks. It’s still sitting in the box too because it has a distinct aroma. Now that warmer temps are here to stay for a few more months, I’m ready to give washing and prepping alpaca fleece a try.

So far, the bulk of my fiber processing experience has been with wool and alpaca that’s already been washed and dyed. The lone exception was this alpaca handspun I made a few years ago. That yarn started as fiber that I turned into batts with a drum carder. But I didn’t wash the fiber before hand, because the general consensus from what I’d read was that you didn’t have too since alpaca don’t produce lanolin. Yeah…no. The finished yarn was wonderful but spinning it left dirt everywhere - my hands, the drum carder, my lap, kitchen table, etc. So all of this new stuff definitely needs a wash.

Unwashed cinnamon brown alpaca fiber

Before digging into that box and committing to a massive washing project, I’m starting small with 7 oz of cinnamon brown alpaca from a friend. It smells pretty clean, but there’s a lot of vegetable matter and my hands definitely feel a little grimy after digging around in the fiber. A lot of my researching and learning about how other people wash alpaca has shown me that there are a lot of different methods. What’s been the same is this:

  • don’t agitate the water - let the fiber soak

  • use warm to hot water

  • gentle dish soap works really well

  • mesh bags are a must

  • if you’re going to use a machine machine, it has to be a top loader

So, keeping all that stuff in mind, here’s what my set up involves:

  • A big flexible tub to soak and wash the fleece outside my washing machine is a front loader

  • Mild dish soap - I’m using Mrs Meyers dish soap which is sulfate free

  • Lots of mesh bags

  • An old towel

  • My patio table

One more important note before getting into the grit of it, I’m washing stuff outside because I don’t want to clean the tub more than I have too. Let’s get started.

Unwashed alpaca placed in bags to prepared for washing

The first step is shoving all the alpaca in bags. I ended up splitting the 7 oz into 2 bags so it’d have room to loose dirt. I also picked out a few bits of bigger veggie matter and removed any second cuts I happened to find.

Now for the tub. I filled it up with water from the hose which is definitely on the cooler side. To warm things up I used an electric kettle to boil some water. It didn’t get anywhere near as hot as I expected but it was warm. Then I added a few tablespoons of soap and smooshed the bags under the water until they stayed completely submerged.

Bags of alpaca fiber soaking in red tub of warm soapy water during the first round of washing.

This is what the water looked like after 20 minutes. I could not see the bottom of the tub even a little.

The dirty soapy water left over the alpaca fiber’s first wash.

I pulled the bags, rolled them up to squeeze out some water, and emptied the tub. Then I refilled the tub with the same amount of hot and cold water for a rinse without soap. The bags went back in and I set another timer.

Soapy water leftover after the alpaca fiber’s second wash.

The bags sat in this water for closer to 30 minutes because I had other stuff to do. This time I could almost see the bottom of the tub.

Decided to do one more soak in soapy water. I didn’t have to add any hot water this time because the hose sat in the sun long enough to heat things up.

After another 30 minutes (took a lunch break), the water was clear and I could see the bottom. Plus, the water I squeezed out of the fiber was only slightly cloudy. Looked good enough to me so I gave them one last soak in plain water to rinse out the soap. After taking the bags out of the tub, I rolled them up in a towel and gave them a good squeeze.

Still wet alpaca fiber in a mesh bag after 2 washes in soap water and a clean water rinse.

Here’s what the still very wet alpaca looks like. The larger VM is still there and I’ll probably have to pick it out by hand, but the dust and dirt is gone. Yay! One step closer to spinning this up.

Two bags of washed alpaca set out to dry on a mesh metal table.

I left the fiber in the bags so it wouldn’t blow away while it dries on the patio table. I did arrange it into a more even layer so it would dry faster. The day’s weather was hot and arid, but it still took the rest of the night inside to dry.

The alpaca fiber after washing and drying. Still full of veggie matter, but dust free.

What did I end up with after a morning’s worth of work and a day’s drying time? Much cleaner fiber. The larger bits of VM are still there, but the dust and grit are gone. Doesn’t feel like I stuck my hand in a bucket of dust after touching the stuff. The fiber isn’t felted and I was able to pull apart some of the locks to get a better look at what I have to work with.

A washed and cleaned cinnamon brown alpaca lock.

It’s definitely going to be work getting the rest of the fiber to this point, but I’m looking forward to getting this on the drum carder.

On the whole, washing this batch of alpaca fiber went pretty well. There’s not much I’d do differently. Hotter water will probably be a requirement for dirtier fleece so I’ll add 2 kettles worth of hot water for the big batch. Gloves might also have to be a thing for the really dirty stuff. I also wish the bags I have were a bigger mesh to let larger chunks out, but these still work fine. There’s still a few more things I want to try before digging into that massive box - like picking out more of the veggie matter and sending this fiber through the drum carder - but that shouldn’t hold me up too long.

References

This video from Jillian Eve gave me a good idea of what needed to be picked out before stuffing the fiber into mesh bags for cleaning. Might help you too if you’re using a washing machine to wash the alpaca.

This video focuses on tumbling and hand washing alpaca. Really makes me wish I had a double basin utility sink.

A short and to the point list about how to wash alpaca.

Prepping Arco Iris

Tour de Fleece is rapidly approaching. I’m still trying to figure out my plan for the 3 week challenge but, in the mean time, I’m going to squeeze in one last skein of handspun. Malabrigo Nube has been at the top of my spinning list since the Bearded One gave me a bump of Arco Iris for our anniversary. It’s hard to resist soft merino and beautiful colors. But how to spin it? Should it be a fat single or 2-ply? Maybe fractal spun or chain-plied? Only way to decide was to unbraid the bump and get a better look. The colors were mottled and fairly random without a discernible repeat. Fractal was definitely out. 

Nube-Arco-Iris-Colors.jpg

Since the dye job was so wild and all over the place, I’m going to keep things simple and spin a 2-ply. I split the roving in half lengthwise with the idea of spinning the singles from opposite directions. Aiming for maximum barber pole action here. Because the colors are so mottled, I’m going to spin a thicker yarn than usual and attempt a worsted or aran weight. If the diameter gets any smaller than worsted, the colors might turn to mud during drafting.

Nube-Arco-Iris-Nests.jpg

Now that all the pesky details are decided and the fiber is prepped, it’s time to start spinning. Pretty sure I can finish before Tour de Fleece starts. 

Batt Showcase

My time with the drum carder is over. It went back at last months and the 4 weeks that I had it were a crash course in carding. I made the first batt because I wanted to see what would happen and it turned out pretty despite my complete lack of knowledge. With one batt under my belt, I decided to do a little research and figure out how to actually use a drum carder. What could you make with one? What could be carded? Maybe more importantly, how do you clean one? I watched videos, read articles, and came across people that knew what they were doing. People that threw in disorganized fiber and had art come out the other side.

Up to this point, from the lone batt I’d spun and most of the listings I’ve seen on Etsy, I had the idea that batts were an everything and the kitchen sink kind of thing.The kind that was 3 types of wool, sparkly bits, silk noil, and some angora for good measure. After my research, I found out differently. Sure, there are kitchen sink batts but batts can also be smooth and uniform. They can focus on color instead of texture. Batts can be bold or subtle. Fibers can be carefully blended or smashed all together. Variation is awesome stuff. 

My batts got better was the weeks went on. They’re all on the subtle side since I just wanted to prep my stash of unprocessed fiber to spin - several ounces of alpaca, locks, angora, and random mystery wool. I wanted to play with color too but ran out of time. Well, I can always rent it again.

The very first batt was 40g of mystery wool from a Gwen Erin grab bag.

Second batt was made from 40 g of Corriedale roving.

This batt is my attempt at duplicating a rolag given to me at a previous guild meeting. Looks similar but I won’t know for sure until I spin it.

These 4 soft and lovely batts were carded from the very first ounces of my fiber stash, 4 oz of light rose grey alpaca. Took me years to prep this fiber and I’m glad I finally did.

The Romney, and reason I rented the carder, turned into 2 batts.

More alpaca from the stash which got a good wash before going on the carder. 

Had a small sample of a BFL and Silk roving that I decided to blend with half its weight in Angora. The batt is wonderfully soft with great luster.

Last batt off the carder was 14g of 100% Angora. Working with straight Angora was more difficult than blending it with wool but not impossible. 

It’s nice to have my kitchen table back but I kind of miss having the drum carder around. I still want to play around with color and blending fibers. Plus, using the carder was just fun and I enjoyed it. Before I had one to my spinning wish list though, I’m going to spin up a few of the batts I made. If I like working with them and the finished yarn, I’ll do some research to pick out the perfect drum carder. Any suggestions on where I should start looking? 

Drum Carding Weekend

This was what my kitchen table looked like pretty much all of Saturday and Sunday. See, this is the last week I’ve got the drum carder and I’m determined to make the most of it.

I spent a good chunk of Saturday feeding 3 oz of light rose grey alpaca through the carder. It was amazing to see the fiber go from crimped locks to a soft and fluffy batt. Don’t think I’ll ever get tired of seeing that transformation. 

On Sunday, I carded the 2 oz of Romney bought at April’s spinning guild meeting. The very same Romney that prompted my last minute decision to rent the drum carder.  Locks went in and a fluffy cloud came out. If it looks like a cloud, it has to be a cloud right?

In total, I processed 5 oz over the weekend and I’m still not done. There’s more alpaca and angora coming from my distant stash. Until that arrives, I’ve got grand plans for this bump of fiber from Spun Right Round. Going to use it to try something new, The Monet Effect Technique from Grace Shalom Hopkins. Interested to see how carding recombines the pink, blue, and green together.

Spinning Up Olivia

Spun-Right-Round-Ramboillet-Olivia.jpg

2 weeks ago, I couldn’t decide what to spin so I asked Instagram to pick for me. Olivia, the April shipment from the Spun Right Round Fiber Club, was the unanimous choice. Then it was time to take a closer look at the bump.

SRR-Olivia-Unchained.jpg

Freshly unchained, the colors seemed to be all over the place…

...but a little organizing set them right…

...before I coiled them up again.

The steady repeats would have been perfect for fractal spinning but I wanted to try something new, yet still simple. The easiest thing to do turned out to be splitting the roving in half lengthwise and spinning the singles from opposite ends. Seems like articles and spinning tutorials always always mention spinning from the same direction when it comes to manipulating color. I’m interested to see what happens when you go in the opposite direction. With the first single finished and the second underway, I’m hoping the long repeats turn into a spectacular barber pole. 

Adventures With A Drum Carder

I blame the Romney I bought at last Saturday’s spinning guild meeting. The fiber is lovely, soft, and clean but it still needs to be prepped for spinning. Unfortunately, I have no way to prep said fiber which prompted the last minute decision to rent the guild’s drum carder. It’s definitely large and in charge. So large, in fact, that I brought it home in a rolling duffle bag. Just what exactly I’d gotten myself into? Then guilt set in because there were only 2.5 ounces of Romney compared to the enormity of this hungry machine. The guilt didn’t last long because I started to remember all the alpaca, angora, and random bits of wool that have been sitting un-prepped and un-spun in my stash for years. And what about all that roving? Maybe I could experiment with that too. See ya later, Guilt.

The first thing to hit the drum was some random bits of practice grab bag wool. Before feeding it through the drums, I pulled the chunks apart to thin them down a little. Didn’t worry about color or anything else. The wool went in until the drum was full and there still half a bag left to play with.

The colors blended beautifully though there are still random spots of solid blue after 3 passes through the carder. Looking forward to spinning it up and seeing the finished yarn.

Since this was my first time using a drum carder, or a carder of any kind, I’m amazed at the transformation. Before, there were just squishy clumps of wool I didn’t know what to do with. Now, I’ve got something that I can’t wait to spin. Also, the process was a blast. Get to play with wool and fiber? Check. Get to play with color? Check. Get to make stuff? Double check. Me thinks that I’ve fallen down the rabbit hole and I have no idea how deep it goes.

Since making those first 2 batts, I’ve done a little more research on how to properly use a drum carder. How to clean one too. The best info I’ve found is a 3-part series from vampy.co.uk. Part 1 is all about the basics of how a drum carder works and the necessary accoutrements. Part 2 is about carding raw fleece. Part 3 is about how to blend fibers. Now that I’m armed with a little more knowledge, I’m ready to play around, experiment, and make more batts. 

Rolags: A Love Story

I try to be a monogamous spinner and only work on one project at a time. Mostly, it’s because I only have 4 bobbins and don’t have a way to store extra singles. I also don’t want to confuse my hands spinning several different yarns at one time. If I get bored, the proto-yarn mellows out on the bobbins until I feel like finishing it or a more interesting spin comes along. This might be a problem when I start spinning more than 4 oz of fluff at time. My monogamous spinning is why it’s taken me so long to spin that wonderful rolag from last month’s spinning guild meeting. I even had a free bobbin ready to go. So, the rolag just sat there, tempting me with its softness and novelty until until I had no choice but to empty my bobbins. The orange and purple handspun that came off turned out wonderfully, but more more on that later. Back to the rolag.

I wasn’t sure what to expect when I drafted out a few fibers and started spinning. Turns out that the rolled up fiber was easy to draft as long I didn’t keep a death grip on it. The guild demo last month recommended long draw  and it is definitely the way to work with this prep. The resulting single was a little wild and gave me some good practice with double drafting. I didn’t try to get rid of all the lumps and bumps, they’re part of any woolen spun yarn. I just evened out the largest lumps and tried to keep the irregularities somewhat consistent. Does that sound contradictory? Yes. But was it fun? Yes. I even started looking forward to the interest and color from the bits of silk noil. They add interest and a nice pop. 

The color of the finished yarn surprised me too. Unspun, the rolag’s brown, blue, and green blended together into a heather. To tell the truth, I was reminded of a very large dust bunny. Spun, however, the colors are distinct and quite visible. It’s like knitting with a semi-solid yarn instead of yarn that’s been dyed as a solid. You get to see and enjoy all the nuances and tones that go into a color instead of just one solid note. 

I wish that I had more than just 14 yards of this yarn. It’s soft, fluffy, and wonderfully cushy. I want to knit a hat or even a cowl to cosy up in. Even if I do manage to duplicate the rolag with my extra fiber, I still won’t have enough yardage for either. Just going to have find the right pattern for these few precious yards. 

Before I return to petting this yarn, I want to thank the Greater Los Angeles Spinning Guild for holding a demo on woolen spinning and prep. Who knows how long it would have taken me to kindle a love of rolags if the teacher hadn’t given me one on a silver platter. Now I’m researching hand carders, blending boards, and drum carders. I even turned a giant batt into 37 fauxlags, AKA fake rolags. Those things are fun to spin too which is great since I have 30 of them to spin. 

Bring on the Rolags

Merino-Rolag.jpg

Spinning Guild never ceases to be inspiring. There’s always something new to see, fiber to feel, and the simple contact high of being around other spinners. This month’s meeting on woolen spinning and prep was no exception. I picked up a few pointer about long draw and double drafting but was completely drawn into the process of making rolags on hand cards. I’d never seen anyone using hand cards in person before. Our demonstrator used solid and dyed merino along with a little silk noil for interest. The finished rolags were thick and fluffy but also light and airy. The once distinct colors had blended and merged into lovely heather.

Rolag-Fibers.jpg

The spinning taskmaster that lives in my head wanted to spin one. Thankfully, the teacher made extras for us to work with and I got to take one home. As soon as I free up a bobbins, I’m going to spin it up. The taskmaster will not be denied. 

If I like spinning from rolags and the yarn that it makes, which I probably will, I’m getting a pair of hand cards. In fact, I’ve already started researching them. Any suggestions for the perfect set? 

In the meantime, the teacher also showed us how to make fake rolags, faulags, with only a dowel and some combed top. Have a feeling that I’m gong to making a lot of those.

Merino-Rolag-Close-Up.jpg

Starting Spinzilla

spinzilla-fiber-perendale.jpg

Welcome to the week of Spinzilla, a competition where the goal is to spin as many yards as possible. Competitors either spin yarn as part of a team or go rogue, like I did, and spin yarn for themselves. Since this is the first year, there are bragging rights, prizes and yarn on the line. 

I decided to join at the last minute thanks to the recent arrival of my new wheel, despite having only 3 bobbins. Spinning time officially kicked off on Monday but I have haven’t spun a single yard yet and I’m feeling just a lot behind. The reason I haven’t started is my last skein of yarn. Sunday morning, the yarn was plied and ready to come off the bobbin when I decided I hated the uneven barber pole it had spun into. Sometimes the colors matched up and sometimes they didn’t. I thought I could live with it during the plying but changed my mind the next day. So, the finicky process of taking apart a plied yarn began and took far longer than expected. The good news is that my bobbins are finally free for Spinzilla. 

My plan and goals for the next 6 days are simple. I’ll be spinning singles from the 6 remaining ounces of Perendale left over from the first skein I spun on the wheel just 2 weeks ago. To empty my 3 bobbins and measure yardage in the most efficient way possible, I’ll be chain plying the singles since I don’t have an easy way to storage or measure them. If, by some feat of speed, I still time left, I’ll dig into the rest of my stash. 

Who else is competing in Spinzilla? Are you on a team or going rogue? Good luck and speedy spinning!

fiber-for-spinzilla.jpg

What's up, pencil roving?

PencilRoving1.jpg

Tour de Fleece may be over for the year and I’ve finished the Tour’s spinning but that doesn’t mean I’m leaving my goals behind. I’m spinning most everyday and I’m working up to spinning in public again. I’m still eager to try new things too. The closest, new thing at hand was the pencil roving I bought during the Tour. Time to satisfy my curiosity.

SpinningPencilRoving1.jpg

Once I got the label off, the roving was packaged just like a skein of yarn unlike other bumps of roving that come braided or chained. There’s no need to put it on a swift before it can be used though.

SpinningPencilRoving2.jpg

Looking closer, the roving is actually 2 smaller strands that were easily pulled apart. I’m not sure if this is how all pencil roving is packaged or something unique to Pagewood Farms but I like it. The strands were obviously dyed together and have the same color variations. Being able to easily split the strand in half makes it easier to spin color matching singles. This hank is a semi-solid blue so being able to spin matching singles doesn’t matter much but it would be a big help with a more variegated hank. Having 2 strands is also less work too since I don’t have to figure out where to split the fiber in half. 

SpinningPencilRoving3.jpg

Separating the two strands seemed like the right thing to do, so I got right to work. Then I wound the strands into cakes for easy access during spinning and for pre-spinning storage.

SpinningPencilRoving4.jpg

I’ve often read that pencil roving is great for beginners since the fibers all run in the same direction and there’s not a lot of excess fiber to worry with. These reasons make pencil roving easy to draft for the beginner and advanced spinner alike. I’ve only spun a bit over an ounce of the stuff so far, but my experience is that both of these things are true. The spinning it is quite easy and I’d recommend it if you’re still trying to teach your hands how to draft. Muscle memory is such a large part of spinning that can easily be overlooked in the beginning for the theory of adding twist to fiber. Making yarn is a physical process that uses your hands but also entire body. You must train yourself well.

SpinningPencilRoving5.jpg

I’m taking advantage of pencil roving’s qualities to spin a heavier yarn. After spinning so much fingering weight, I want to make sure I can still spin a worsted weight or thicker yarn. It was a bit of struggle to get my fingers to relax and not keep such a death grip on the fiber. The beginning of the single is pretty fine but has gotten thicker over the following yards. Only the plied yarn will tell, but it seems like I can still spin a worsted weight yarn. If only my fingers weren’t turning blue in the process.

Spinning Batts

Once I pulled this batt out of the envelope and decided it was good, my second thought was that it was larger than my head. Then, how am I supposed to make this into yarn? For all I knew it might as well have been a monster waiting for my to let down my guard so it could eat me. 

Since Tour de Fleece waits for no spinner, I went looking for tutorials on spinning from batts and the internet came to my rescue. 

How to Spin from Batts by Vampy

The post lists five different ways to prep batts for spinning with clear photos and written instructions.

How to Spin a Batt from the Knit Girllls

This video covers four ways to spin from a batt. The yarn is being made on a spinning wheel but the prep still applies for a spindle. 

A Batt? What’s that? by St Seraphina Knits

Another informative video but this covers how to open the packaged batt and focuses on tearing the batt into strips for easy spinning.

Eventually, I decided to tear the batt into strips and pre-drafted the fibers down to a manageable size. After all the uncertainty, this seemed like cheating since the prep work was so easy and nothing to fear. Now I want to get more batts and experiment with different prep methods. 

Now that the monster had been tamed, it was time to spin and it was no harder than working from roving. If only the single didn’t look like upchucked bodily fluids.  Any suggestions for what to do with 3.5 oz of fiber that you don’t want to spin anymore?